The Ultimate Guide to Converting JPG Images to PES Format for Embroidery
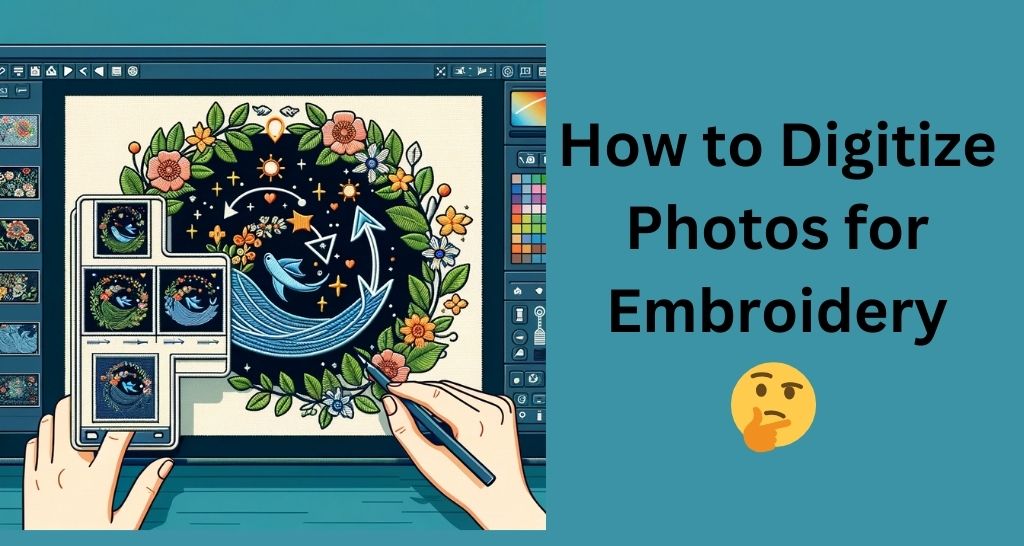
Embroidery enthusiasts and professionals alike often find themselves needing to convert standard JPG images into the PES format—a specialized file type used primarily by Brother and certain other embroidery machines. This blog we will walk you through the steps you need to convert JPG files to PES, outline various methods to do so, and provide tips to ensure your embroidery projects turn out perfectly. Lets Us Convert Your Files Format For Digitizing Simplify your embroidery projects with punch digitizing. Just Contact Now Contact Us Understanding JPG and PES Formats JPG (JPEG) JPEG stands for Joint Photographic Experts Group, the team that developed this widely used digital image format. JPG files are ideal for storing photographs and complex images in a compressed form, which helps save on storage space but can reduce image quality due to compression. PES PES files are a proprietary format used by Brother and certain other brands of embroidery machines. These files contain embroidery design data including color, thread pattern, and stitch commands necessary for the machine to create the design on fabric. How to Convert JPG to PES Format? Software Solutions: Dedicated Embroidery Software: There are several embroidery design programs available that can convert JPG images to PES format. Some of the most popular include: Brother’s PE-Design: Tailored for Brother’s embroidery machines, this software not only converts images but also allows you to add and modify embroidery effects. Embird: Known for its robust features, Embird can convert various file formats to PES and offers tools for editing existing embroidery designs. SewArt: An affordable option that converts clipart and images to embroidery files, suitable for beginners. Free Online JPG to PES converter: If you’re looking for a quick conversion without the need for advanced editing, online converters can be a viable option. These websites typically allow you to upload a JPG and download a converted PES file. However, the quality and customization options can be limited compared to dedicated software. Step-by-Step Guide to Using Embroidery Software: Open the Software: Start by launching your chosen embroidery design program. Import the JPG File: Upload the JPG file that you want to convert into the software. Edit and Customize: Use the software’s tools to adjust the design, specify the colors, and make other modifications. This step is crucial for ensuring the machine accurately interprets the design. Convert and Save: Once you’re satisfied with the design, use the software’s conversion tool to create a PES file. Save the final version to an appropriate medium compatible with your embroidery machine. Why Convert JPG to PES? Converting a JPG to PES is necessary for anyone looking to turn a digital image into an embroidery design. This process allows you to: Customize clothing, bags, and other fabric-based items with personal or business logos. Replicate artwork or text in embroidered form, preserving the color and detail as much as possible. Create unique gifts or products for sale, such as customized apparel or home decor. Tips for a Successful Conversion Maintain Image Quality: Start with the highest quality JPG you can obtain to avoid issues during conversion. Understand Embroidery Limitations: Not all images convert well into stitches. Simple designs with clear, solid colors work best. Test Before Final Stitching: Always run a test stitch on a similar fabric to ensure the final product will meet your expectations. Conclusion The ability to convert and manipulate digital images into stitch-able embroidery designs is invaluable. With the right tools and techniques, you can bring almost any image to life with embroidery.
The Ultimate Guide to Converting JPG Images to PES Format for Embroidery Read More »