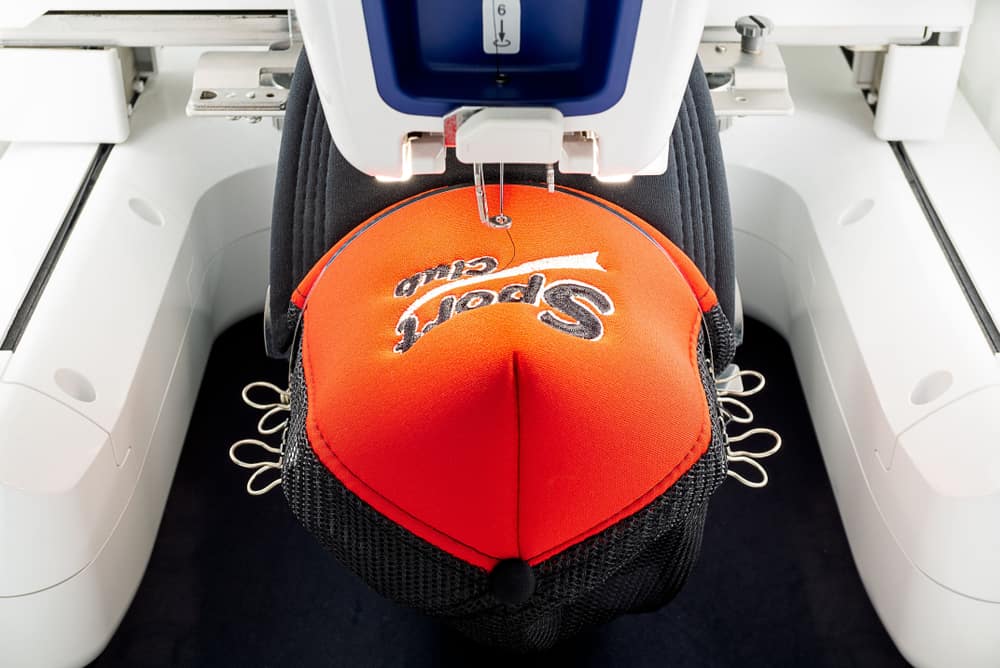
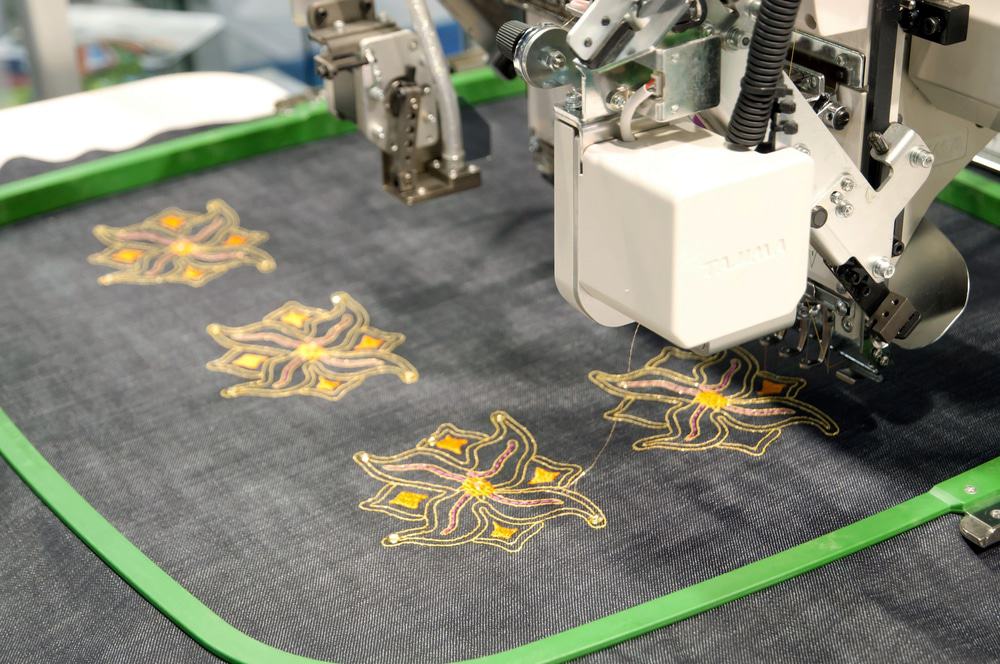
Here, we will talk about how to do 3d puff embroidery on hats? 3D puff embroidery is simply an art. It is the talent of a digitizer who makes the utmost effort to develop eye-catching designs. The embroidery of 3D puff is distinct from simple designs. There is a deepness in the artwork on 3d models. We will explore 3D embroidery for hats in this post. To get the best performance, we will also explore some tips to perform better.
When you want to have custom artwork, the 3D puff style is relatively pricey. Depending on the quantity, material, and embroidery design you want on your hat, the charges will vary. The work is done in the digital age by computer software and embroidery machines.
The embroidery of 3D puff is itself an art that involves practice, practise and practise. The more interest you get, the easier it will be to strengthen your weak areas.
There has been an ever-increasing demand for 3D designs over the past few years, particularly for hats. Staying true to best practises in 3D puff embroidery means achieving better outcomes and low cost and time in manufacturing.
If you master the ability to digitize 3D puff embroidery, you can surpass your competitors in the following fields. Here, we will talk about some of the best practises for 3D embroidery that can benefit you in the long run.
1. Set the speed of your machine
It is essential to decide your embroidery machine’s ideal speed because it determines the embroidered designs’ efficiency. According to your instructions, you will also need to slow the pace down. For each embroidery machine, the maximum speed is different. A good approach is to run a few different speed tests to decide the optimum speed that will yield the best results.
2. Your fabrics matter a Lots
Consider using 3D puff fabrics that are prone and slippery. There are two explanations for that. First, the stitch density of 3d puff embroidery is higher than standard designs. Second, the surface is more susceptible to vibrations in the hoop when dealing with rubber.
Therefore, dense, stable fabrics are favoured, like those in caps. Noble fabrics like towels often don’t go well with 3D puff embroidery. The 3d effect fades their own loft and thus fails to appeal to a convincing design.
3. Creating Stops And Laying The Foam
If the flat design is finished, you can build a stop. As this is something that you will need a lot in your career as you deal with 3D puff embroidery, you need to learn how to programme stops in your machine. You need to make sure the system offers sufficient stops on colour changes.
4. Making The Outline
Before embroidering with satin stitches, you need to create a template outline after laying the foam and making a stop. The zone that can be broken down will stabilize this outline.
Due to the foam, the set-up is increasingly unstable. The foam is sticking to the material due to this. Stitching a sketch by presenting foam with the ‘split.’ counteracts this inherent uncertainty.
5. Remove the Foam Excess
When the template has been completed, replace the excess foam. If there are small puff bits that are too hard to be collected with bare hands, use a heat source.
You should make use of a heat gun to melt the foam. Certain puff parts likely remain trapped. Take them out with tweezers.
6. Do Some Test Runs
Try sewing out some test runs while you’re working with a new concept to prevent a mishap. Compare different models and select the best working fabric and equipment.
For inexperienced embroiderers, this drill often serves as a training area. This allows them to determine what works and what does not work so well. This enables them to benefit from optimum conditions for real sew-out and related future jobs.


