

Embroidery, an age-old art form, and when it meets modern technology, it becomes a fascinating process by which you can digitizing photos on clothes. This technique allows you to immortalize your favorite memories in a unique and personal way. In this blog, we’ll guide you through the process of transforming a simple photo into an embroidered masterpiece. this journey from pixel to stitch will open up a world of creative possibilities for you to capture moments. Lets get started.
What is Photo Digitization for Embroidery?
At its core, photo digitization for embroidery is the process of converting a photograph into a digital file that an embroidery machine can interpret as stitch patterns. Unlike traditional embroidery, which relies on manual transfer of designs, this method uses software to create a stitchable design directly from a photo. It’s a perfect blend of technology and craftsmanship.
The key to successful photo embroidery lies in the selection of the right image. High-contrast, clear photos with defined subjects work best. The process isn’t just about converting a photo into stitches; it’s about reimagining the photo in a way that highlights its best features through textures and thread colors.
Tools and Materials Needed for Photo Digitization and Embroidery
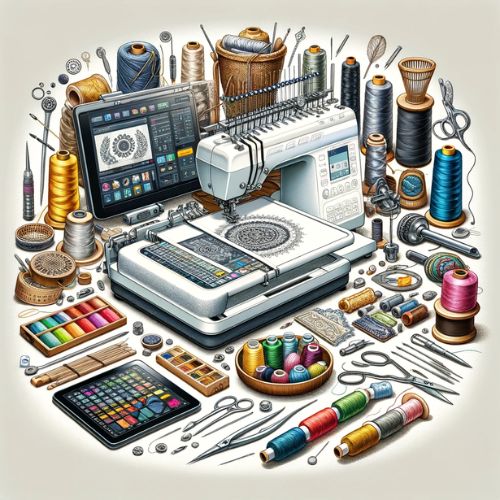
Before embarking on your journey to transform a photo into an embroidered work of art, it’s essential to gather the right tools and materials. The right equipment not only makes the process smoother but also ensures a high-quality finished product.
Essential Tools:
- Embroidery Machine: This is the cornerstone of your project. A good quality embroidery machine that can handle various fabric types and stitch patterns is crucial.
- Digitizing Software: Choose embroidery digitizing software specifically designed for photo embroidery. This software will help you convert your photo into an embroidery file that your machine can read.
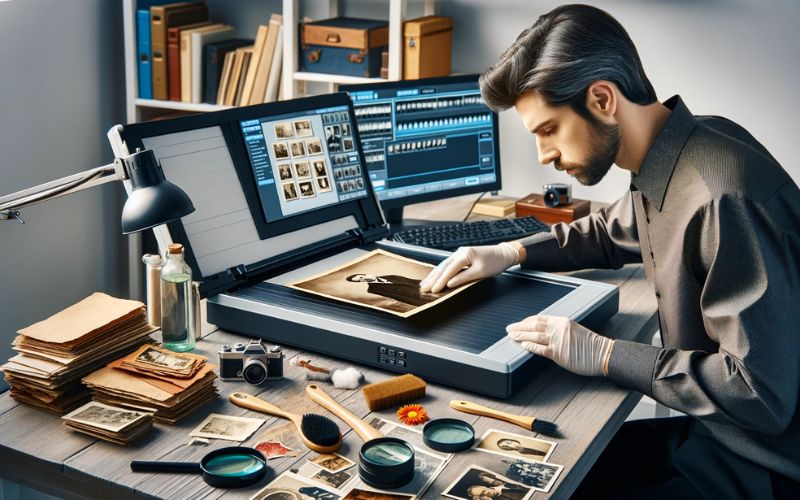
- Scanner or Digital Camera: To get your photo into a digital format, use a scanner or a high-quality digital camera. Ensure the photo is clear and well-lit.
- Computer: A computer with enough processing power to run your digitizing software smoothly is necessary.
Materials:
- Fabric: The choice of fabric depends on your project. Cotton, linen, and canvas are popular choices due to their durability and ease of handling.
- Embroidery Threads: Select high-quality threads in colors that match your photo. Consider the texture and sheen of the threads as they contribute significantly to the final look.
- Stabilizer: A stabilizer, used beneath the fabric, prevents puckering and helps maintain the fabric’s shape during embroidery.
- Embroidery Hoops: These are necessary to keep your fabric taut while embroidering.
- Additional Supplies: Scissors, needles, and transfer tools (like a USB drive to transfer your digitized file to the embroidery machine) will also be needed.
Tips for Beginners:
- Start with simpler projects to understand your machine’s capabilities and the digitizing process.
- Experiment with different fabrics and threads on small samples to see how they behave.
- Don’t hesitate to invest in good-quality threads and fabrics, as they can significantly impact the outcome.
Preparing Your Photo for Digitization

The first step in digitizing your photo for embroidery is preparing the image correctly. This preparation is crucial for ensuring your embroidered piece accurately reflects the original photo.
Selecting the Right Photo:
- Resolution and Clarity: Choose a photo with high resolution and clear details. The better the quality, the more details your embroidery can capture.
- Contrast and Color: Photos with good contrast (distinct light and dark areas) and vibrant colors tend to translate better into embroidery.
- Simplicity: If you’re a beginner, start with simpler images. Photos with too many details or complex backgrounds can be challenging to digitize.
Editing the Photo:
- Cropping and Adjusting: Use photo editing software to crop the image to focus on the main subject. Adjust brightness and contrast if necessary.
- Simplifying Colors: Reduce the number of colors if the photo is very colorful. This makes the cap digitizing process more manageable.
- Resizing: Resize the photo to match the dimensions you want for your embroidered piece. Remember, larger images require more time and stitches.
Learn: how to store embroidery floss effectively
Step-by-Step Guide to Digitizing Your Photo
Once your photo is prepped, it’s time to digitize it.
Using Digitizing Software:
- Import Your Photo: Open your applique digitizing software and import the edited photo.
- Trace the Image: Use the software’s tools to trace the key elements of your photo. This process converts your photo into a series of stitches.
- Select Stitch Types: Different areas of the photo will require different stitch types. For example, use satin stitches for smooth areas and fill stitches for larger, colored sections.
- Color Matching: Match the colors in the software with your embroidery threads. The software may suggest colors, but you can adjust these based on the threads you have.
- Adjusting Details: Pay attention to details like stitch direction and density. These adjustments can greatly affect the texture and overall look of the embroidery.
Watch this guide to further understand this process: https://www.youtube.com/watch?v=2nV7HkNFGcA
Preview and Adjust:
- Once you’ve digitized the design, preview it. Look for any areas that may need adjustment in stitch type, direction, or color.
- Make necessary edits to ensure the design is as close to your original photo as possible.
Finalizing the Design:
- Save the design in a format compatible with your embroidery machine.
- Transfer the design to your machine, either via USB or other methods depending on your machine’s capabilities.
This process might seem daunting at first, but with practice, you’ll find it easier to convert your photos into beautiful embroidery designs. Remember, patience and attention to detail are key.
Embroidering Your Digitized Photo
With your photo digitized, you’re ready to begin the embroidery process. This stage is where your image truly comes to life in thread and fabric.
Setting Up Your Embroidery Machine:
- Load the Design: Transfer the digitized file to your embroidery machine.
- Prepare the Fabric: Hoop the fabric with a stabilizer to ensure it remains taut and stable during embroidery.
- Thread Selection: Load the machine with the first color of thread. Ensure the threads are of good quality to avoid breakage.
Embroidery Process:
- Start Embroidering: Begin the embroidery process. Watch as the machine interprets your digitized design into stitches.
- Color Changes: Change the threads as required by the design. This might be frequent depending on the complexity of your photo.
- Monitor Progress: Regularly check the machine to ensure smooth operation. Look out for thread snags or other issues.
Troubleshooting Tips:
- Thread Tension: If you notice puckering or loose stitches, adjust the thread tension.
- Machine Speed: If you’re new, start at a slower speed to ensure precision.
- Regular Breaks: Take breaks during long embroidery sessions to rest and to check the machine’s performance.
Finishing Touches and Care
Once your photo is embroidered, it’s time to give it the finishing touches that turn it into a display-worthy piece.
Finishing the Embroidered Piece:
- Trimming and Cleaning: Carefully remove any excess stabilizer and trim loose threads.
- Ironing: Iron the embroidered piece on a low setting to smooth out any wrinkles. Use a pressing cloth to protect the embroidery.
- Framing or Mounting: Depending on your project, you may frame the piece or mount it onto another item like a cushion or a bag.
Caring for Embroidered Photos:
- Washing Instructions: Hand wash or use a gentle machine cycle if necessary. Avoid harsh detergents.
- Storage: Store in a cool, dry place away from direct sunlight to prevent fading.
Creative Applications:
- Home Décor: Frame your piece for a unique wall hanging.
- Gifts: Personalize items like bags or apparel with your embroidered photo for a thoughtful gift.
- Experiment: Try different fabrics or thread types for unique effects.
Takeaway
In this guide, we’ve explored how to digitize photos for embroidery, turning memories into embroidered art. I’ve provided insights into the tools and materials needed, along with tips for beginners and troubleshooting advice.’
I’d love to hear about your experiences in photo embroidery digitization. Please share your projects, insights, or any questions you might have in the comments below.
Contact Punch Digitizing for all your digitizing service needs


