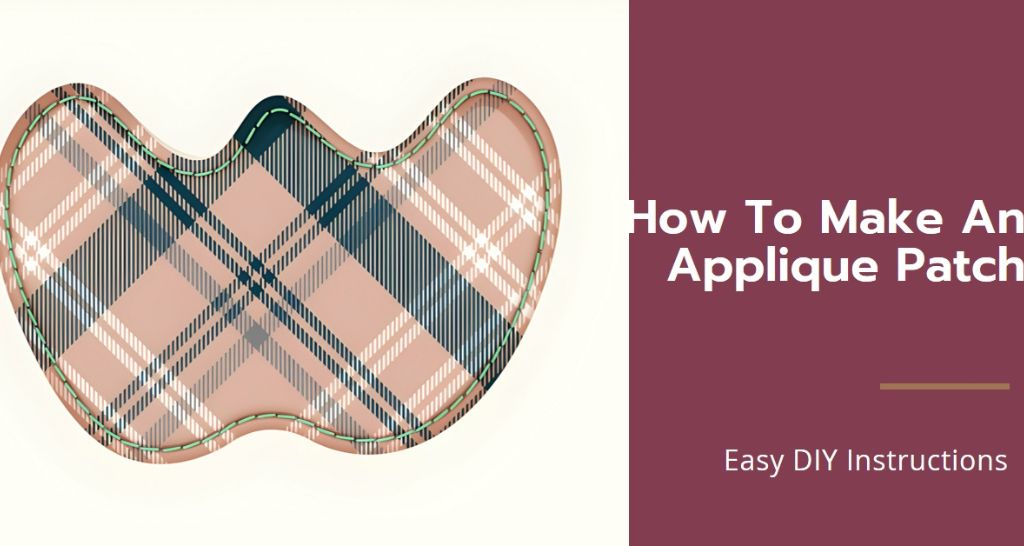
Step-by-Step Guide – How To Make an Applique Patches?
Applique patches are a fantastic way to add a personal touch to your clothing, bags, or home decor. They can be simple or intricate, colorful or monochromatic, but they’re always a fun way to express your style. In this blog, Punch Digitizing will take a deep dive into the process of making an applique patch. Whether you’re a seasoned crafter or new to the world of DIY, this guide will walk you through each step with detailed instructions and helpful tips. How To Make an Applique Patches? Step 1: Preparing Your Applique Template Materials Needed Applique template Paper-cutting scissors Main fabric Fusible wadding Printing and Cutting the Template: Begin by printing your desired applique template. Using paper-cutting scissors, carefully cut out the pattern. This template will be the blueprint for your applique embroidery patch. Cutting the Fabric: Fold your main fabric in half to ensure symmetry. Pin the template onto the fabric and cut around it to get two identical oval shapes. These will form the front and back of your patch. Preparing the Backing: Next, pin the same pattern onto fusible wadding. After cutting it out, press it onto the reverse side of one of your fabric ovals. This wadding not only adds thickness but also stability to your patch. Step 2: Creating the Contrast Design Materials Needed Fusible webbing Contrast fabric Paper and pencil Ironing the Fusible Webbing: Iron the fusible webbing onto the back of your contrast fabric. This webbing will help to adhere your design to the main fabric. Cutting Out the Design: If your design includes letters or specific shapes, cut these out from the contrast fabric. Remember to work on the reverse side for accuracy and ease. Step 3: Assembling the Patch Materials Needed Iron Sewing machine with a zigzag stitch setting Attaching the Design: Peel off the paper backing from your cut-out design. Carefully position it on the front piece of your patch and press it with an iron. Sewing the Design: Using a zigzag stitch on your sewing machine, sew around your design. This not only secures it but also adds a decorative border. Step 4: Sewing the Patch Materials Needed Sewing machine with straight stitch setting Thread and needle Joining the Pieces: Place the two oval fabric pieces together, with their right sides facing each other. Pin them in place. Sewing the Edges: Using a straight stitch, sew around the edge, leaving a small opening for turning. Be sure to follow the seam allowance mentioned for a neat finish. Turning the Patch: Carefully turn the patch right-side out through the opening. This can be a bit tricky, so take your time to avoid tearing the seams. Step 5: Finishing Touches Closing the Opening: Use a slip stitch to close the opening. This stitch is almost invisible and will give your patch a professional look. Pressing the Patch: Ironing your patch at this stage helps to flatten and define its shape. Top Stitching: Finally, sew a line of topstitching close to the edge. This not only secures your patch further but also adds a neat, finished look. Step 6: Finalizing Your Applique Patch Your applique patch on jacket is now complete! You can sew it onto any fabric surface of your choice, like a denim jacket, canvas bag, or even a cushion cover. The possibilities are endless! Creative Ideas and Inspirations Fashion Forward with an Applique Patches: Jeans and Denim Jackets: Revamping your wardrobe can be as simple as updating a pair of old jeans or a denim jacket with some stylish patches. Whether it’s bringing a feminine touch with delicate floral designs or showcasing your love for rock with band logos, the possibilities are endless. This approach not only gives your denim pieces a new lease on life but also allows you to express your unique style and personality. Experimenting with various placements and sizes can create a one-of-a-kind piece that stands out. Custom T-Shirts: Opt for bold, graphic designs to achieve a modern, eye-catching look, or choose vintage-inspired patches to evoke a sense of nostalgia and retro charm. This simple customization can elevate your everyday casual wear into something truly special and personal. Accessory Makeover: Don’t limit patches to just clothing! Accessories like bags, hats, and scarves can also benefit from this creative touch. For example, a plain tote bag can be transformed into a trendy accessory with the strategic placement of a few vibrant patches. This is a great way to refresh items you already own, making them feel new and exciting again. Home Decor with a Twist: Cushion Covers and Throw Pillows: Consider decorating cushion covers and throw pillows with patches that feature geometric shapes for a contemporary interior, or cute animal motifs for a child’s room. This simple addition can make a significant impact, enhancing the coziness and visual appeal of any space. Table Linens and Curtains: This can be particularly effective for seasonal decorations, such as autumn leaves for fall or elegant snowflakes for winter, adding a festive touch to your home during special occasions. Unique Gift Ideas: Creating custom patches offers a personal touch to gifts that friends and family will treasure. An applique patch featuring a special date, a favorite quote, or the recipient’s initials can be an incredibly thoughtful gift for anniversaries or special milestones. Also, consider gifting items like baby bibs or blankets adorned with charming applique designs for baby showers; these are not only practical but also adorable. Interactive Projects for Kids: Interactive Projects for Kids: Encourage creativity in children by involving them in making their own patches. This can be an enjoyable and educational activity, where kids can design patches for their backpacks, pencil cases, or clothing. It’s a great way for them to express their creativity and personalize their belongings. Make sure to include safety tips and suggest age-appropriate designs to ensure a fun and safe crafting experience. Closing Thoughts Making an applique patch is a simple yet rewarding craft. It allows for immense creativity and personalization. Whether you’re making a patch for yourself or as a gift, the process
Step-by-Step Guide – How To Make an Applique Patches? Read More »