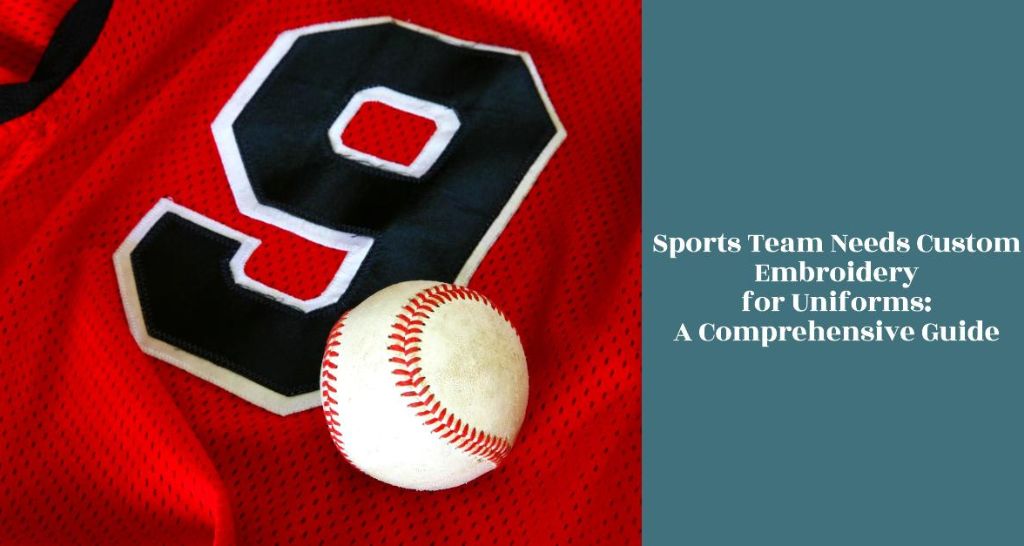
Why Your Sports Team Needs Custom Embroidery for Uniforms: A Comprehensive Guide
When it comes to team sports, the uniform is much more than just a piece of clothing. It’s a symbol of unity, pride, and identity. In the competitive world of sports, standing out and maintaining professionalism is key, not just in skill but also in appearance. This is where custom embroidery comes into play, offering a unique blend of durability, aesthetics, and team spirit. The Role of Custom Embroidered Uniforms in Team Spirit Unity and Equality Among Team Members Uniforms, adorned with custom embroidery, serve as a powerful symbol of unity, fostering a deep sense of belonging among individuals. Through their standardized appearance, they seamlessly blend individual differences, elevating the collective spirit above personal distinctions. Personalized embroidery designs, delicately etched on each uniform, add a unique touch while reinforcing the collective identity. Professionalism and Perception A well-designed uniform speaks volumes about a team’s professionalism and dedication. It sets the tone for how opponents and spectators perceive a team. Benefits of Custom Embroidery for Sports Uniforms Durability and Longevity Embroidered uniforms withstand the rigors of sports without fading or peeling, ensuring the team looks sharp season after season. Aesthetic Appeal The depth and texture of embroidery add a premium feel to uniforms, allowing for intricate designs that screen printing can’t match. Professional Image Embroidered logos and names on uniforms elevate a team’s image, enhancing players’ confidence and team morale. Versatility Embroidery can be applied to a wide range of materials, offering customization options for every sport and team member. How to Choose the Right Embroidery for Your Team Uniforms Understanding Fabric and Material The choice of fabric is crucial for any embroidery project, especially when considering techniques like 3D Puff Embroidery. Not all materials are suitable for achieving the desired effect of this intricate stitching style. Design Considerations Incorporating the right color palette and ensuring top-notch thread quality can elevate a design, making it stand out while preserving readability and visibility. Whether crafting intricate logos or vibrant illustrations, mastering the art of Vector Art allows designers to seamlessly blend aesthetics with utility, resulting in captivating and impactful visuals. Implementing Custom Embroidery From initial design to final production, the process involves close collaboration with the embroiderer, careful selection of materials, and meticulous planning to ensure the final product meets the team’s needs. Maintaining Your Embroidered Sports Uniforms Proper care extends the life of embroidered uniforms. Gentle washing, air drying, and correct storage keep the embroidery looking new. Learn About: Creative Embroidery Floss Organization: Blending Art with Function FAQs What is the price range for custom embroidery on sports uniforms? The price of custom embroidery on sports uniforms can vary widely, primarily influenced by the design’s complexity, the quantity of items being customized, and the type of fabric. Simple designs on a small number of uniforms will be less expensive than intricate, multi-colored logos on high-quality materials. How long does it typically take to complete custom embroidery orders? The completion time for custom embroidery orders depends on several factors, including the design’s complexity, the total number of items to be embroidered, and the embroiderer’s current workload. Generally, small orders with simple designs can be completed relatively quickly, within a few days to a week. Can existing uniforms undergo embroidery? Yes, existing uniforms can often be enhanced with custom embroidery, depending on the fabric type and the condition of the uniforms. Not all materials are suitable for embroidery, and worn or damaged garments may not yield the best results. It’s important to consult with a professional embroiderer who can assess the feasibility of adding embroidery to your existing uniforms. Is custom embroidery suitable for all sports? Custom embroidery is a versatile decoration method suitable for many sports, providing a high-quality, professional appearance to uniforms. However, for high-contact sports such as football or rugby ball, alternative customization techniques might be more appropriate to withstand the rigorous conditions of play. These alternatives could include sublimation or heat press, which can offer durability without the potential for embroidery to snag or tear. Conclusion Custom embroidery offers an unparalleled blend of durability, professionalism, and aesthetic appeal for sports uniforms. By choosing the right embroidery, teams can enhance their identity, unity, and presence on and off the field. With proper care, these uniforms can stand the test of time, making custom embroidery a worthy investment for any sports team.
Why Your Sports Team Needs Custom Embroidery for Uniforms: A Comprehensive Guide Read More »